Builds for The Oni
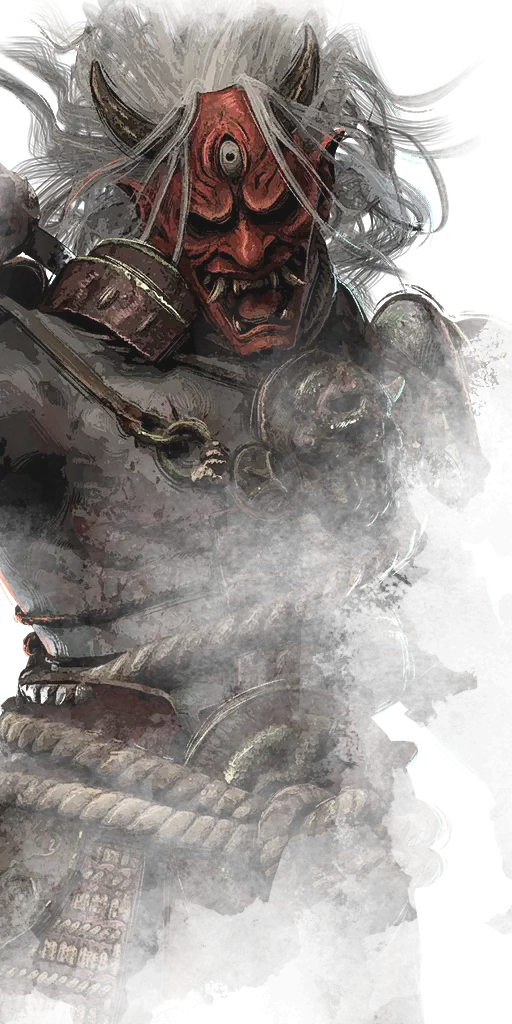
Best Build Without Limitations
- Increases the Spawn frequency of Blood Orbs from injured Survivors by +33 %.
- Increases the number of Blood Orbs spawned when Survivors perform specific interactions by +1.
"To plan subterfuge, begin with a counsel of none." — Renjiro's Doctrine 7:9
- Increases your Movement speed during a Demon Dash by +1 m/s.
- At the start of the Trial, the 3 Generators located farthest from you are blocked by The Entity for 80/100/120 seconds.
Corrupt Intervention deactivates prematurely once the first Survivor is put into the Dying State.
"It shall be known across the land that the Gods curse the unfaithful." — (The Tablet of Adiris, 3.7)
Performing the Damage Generator action on Generators highlights their Auras in yellow.Whenever a Survivor enters the Dying State by any means, Eruption triggers the following effects on all highlighted Generators:
- Causes them to explode, damaging them.
- Instantly regresses them by -10 % of their total Progression.
- Causes them to start regressing afterwards.
- Causes all Survivors currently repairing them to suffer from the following effects:
- Causes them to scream.
- Their Auras are revealed to you for 8/10/12 seconds.
"It can use weapons?" — Jill Valentine
At the start of the Trial, 4 Hooks in the environment are changed into Scourge Hooks:
- The Auras of these Scourge Hooks are highlighted in white.
Start the Trial with 4 Token.
Whenever a Survivor is hooked onto a Scourge Hook for the first time, Scourge Hook: Pain Resonance consumes -1 Token and applies the following effects:
- Causes the Generator with the most progression to explode, damaging it.
- Instantly regresses the Damaged Generator by 10/15/20 % of its total Progression.
- Causes the Damaged Generator to start regressing afterwards.
- Causes all Survivors repairing the Damaged Generator to scream.
- This does not trigger a Loud Noise Notification.
"The pain spills beyond flesh/darkness staining the horizon." — Girl in the Shadow by Carmina Mora
- Blocks the first Generator any Survivor stops repairing for 25/30/35 seconds.
- The Blocked Generator is highlighted to you in white.
Dead Man's Switch cannot activate if its effect is still active from a previous activation.
"I've seen the look on a man's face when he realises he's going to die." — Caleb Quinn
MesterX's Favorite
- Increases the Spawn frequency of Blood Orbs from injured Survivors by +33 %.
- Increases the number of Blood Orbs spawned when Survivors perform specific interactions by +1.
"To plan subterfuge, begin with a counsel of none." — Renjiro's Doctrine 7:9
- Increases the duration of Blood Fury by +10 seconds.
- After hooking a Survivor, all Survivors who are at least 60/50/40 metres away from that Hook have their Aura revealed to you for 5 seconds.
"I just can't take no pleasure in killing. There's just some things you gotta do. Don't mean you have to like it." — Drayton Sawyer
- At the start of the Trial, the 3 Generators located farthest from you are blocked by The Entity for 80/100/120 seconds.
Corrupt Intervention deactivates prematurely once the first Survivor is put into the Dying State.
"It shall be known across the land that the Gods curse the unfaithful." — (The Tablet of Adiris, 3.7)
At the start of the Trial, 4 Hooks in the environment are changed into Scourge Hooks:
- The Auras of these Scourge Hooks are highlighted in white.
Start the Trial with 4 Token.
Whenever a Survivor is hooked onto a Scourge Hook for the first time, Scourge Hook: Pain Resonance consumes -1 Token and applies the following effects:
- Causes the Generator with the most progression to explode, damaging it.
- Instantly regresses the Damaged Generator by 10/15/20 % of its total Progression.
- Causes the Damaged Generator to start regressing afterwards.
- Causes all Survivors repairing the Damaged Generator to scream.
- This does not trigger a Loud Noise Notification.
"The pain spills beyond flesh/darkness staining the horizon." — Girl in the Shadow by Carmina Mora
While performing the Break or Damage action on Breakable Walls, Pallets, or Generators, Brutal Strength triggers its effect:
- Increases the Action speed by 10/15/20 %.
Best Beginner Build
- Reduces the Transition time into Blood Fury by -0.5 seconds.
- Reduces the Transition time out of Blood Fury by -0.5 seconds.
- Reduces the Power Gauge penalty for downing Survivors during Blood Fury by -2 seconds.
- Reduces the Transition time into Blood Fury by -0.5 seconds.
- Reduces the Transition time out of Blood Fury by -0.5 seconds.
After hooking a Survivor, Pop Goes the Weasel activates for 35/40/45 seconds.While active, manually damaging a Generator triggers the following effect:
- Increases the regression amount by +15 % resulting in 20 % regression.
While performing the Break or Damage action on Breakable Walls, Pallets, or Generators, Brutal Strength triggers its effect:
- Increases the Action speed by 10/15/20 %.

- Increases your Vaulting speed by 5/10/15 %.
Whenever you vault a Window, Bamboozle calls upon The Entity for the following effect:
- Blocks it to all Survivors for 8/12/16 seconds.
- Vaulting it again within that time resets the timer.
- Vaulting a different one transfers the effect to it instead.
Bamboozle does not extend its effects to vaulting a dropped Pallet.
At the start of the Trial, 4 Hooks in the environment are changed into Scourge Hooks:
- The Auras of these Scourge Hooks are highlighted in white.
Each time a Survivor is unhooked from a Scourge Hook, the following effects apply:
- Causes that Survivor to suffer from the Haemorrhage Status Effect for 90 seconds.
- Reduces their Action speeds for Healing and Repairing by 10/13/16 %.
Unique Build - All Seeing Oni

- The Blood Orb is absorbed by the Survivor.
- Their Aura is revealed to you for 2 seconds per absorbed Blood Orb.
Renjiro's Bloody Glove grants Survivors the ability to see Blood Orbs at the same distance as you.
"When all else spills out, cling only to your honour." — Renjiro's Doctrine 14:12
- Increases the Spawn frequency of Blood Orbs from injured Survivors by +33 %.
- Increases the number of Blood Orbs spawned when Survivors perform specific interactions by +1.
"To plan subterfuge, begin with a counsel of none." — Renjiro's Doctrine 7:9
After performing the Damage Generator action, Machine Learning activates:
- Causes that Generator to become a Compromised Generator.
- Damaging another Generator transfers the state to it instead.
- The Aura of the Compromised Generator is highlighted to you in yellow until it is completed.
- Undetectable Status Effect
- +8 % Haste Status Effect
"YOU WILL HOLD NO DOMINION OVER ME!" — HUX-A7-13
- Triggers a Loud Noise Notification for that Generator, revealing its location.
- Grants the Undetectable Status Effect for the next 12/14/16 seconds.
Tinkerer can only trigger once per Generator per Trial.
"The Hillbilly makes impressive tools out of scraps. Tools aimed at maiming us in creative ways." — Notebook
While repairing a Generator, Survivors suffer from the following effects:
- Incurs the Blindness and Exhausted Status Effects.
- Both Status Effects linger for 3/4/5 seconds after ending the interaction.
"The specimen's apparent telepathic ability can evoke feelings of dread and fatigue in nearby individuals." — Hawkins National Laboratory
Performing the Damage Generator action on a Generator activates Trail of Torment:
- Grants the Undetectable Status Effect.
- The Aura of the Damaged Generator is revealed to all Survivors and highlighted in yellow.